


7 Soccer Footwork Drills for Beginners

Your player can juggle a little, sprint a little, and chase the ball with energy. Then the game starts, and everything feels fast. The ball gets away on the first touch, turns look rushed, and even simple passes become hard once movement is involved.
That's where beginner footwork should start. Not with flashy tricks, and not with endless speed work. Good soccer footwork drills for beginners build confidence through repeated, controlled touches that teach a player how the ball moves under different parts of the foot.
The best progression is simple. First, get comfortable with the ball. Then add direction changes. Then add receiving, passing, pressure, and small game decisions. Each step should feel just challenging enough without turning sloppy.
Use one coaching standard for every drill in this list. Quality before speed. Work in a safe area, keep the ball close enough to control, and use both feet from the start. If posture breaks down, touches get heavy, or a young player loses focus, slow it down or stop for a short reset.
1. First Touch and Ball Control Drills
A beginner's first touch sets the pace for everything that follows. If the ball pops too far away, the player spends the next second chasing instead of choosing. For young players, that one detail often separates calm play from rushed play.
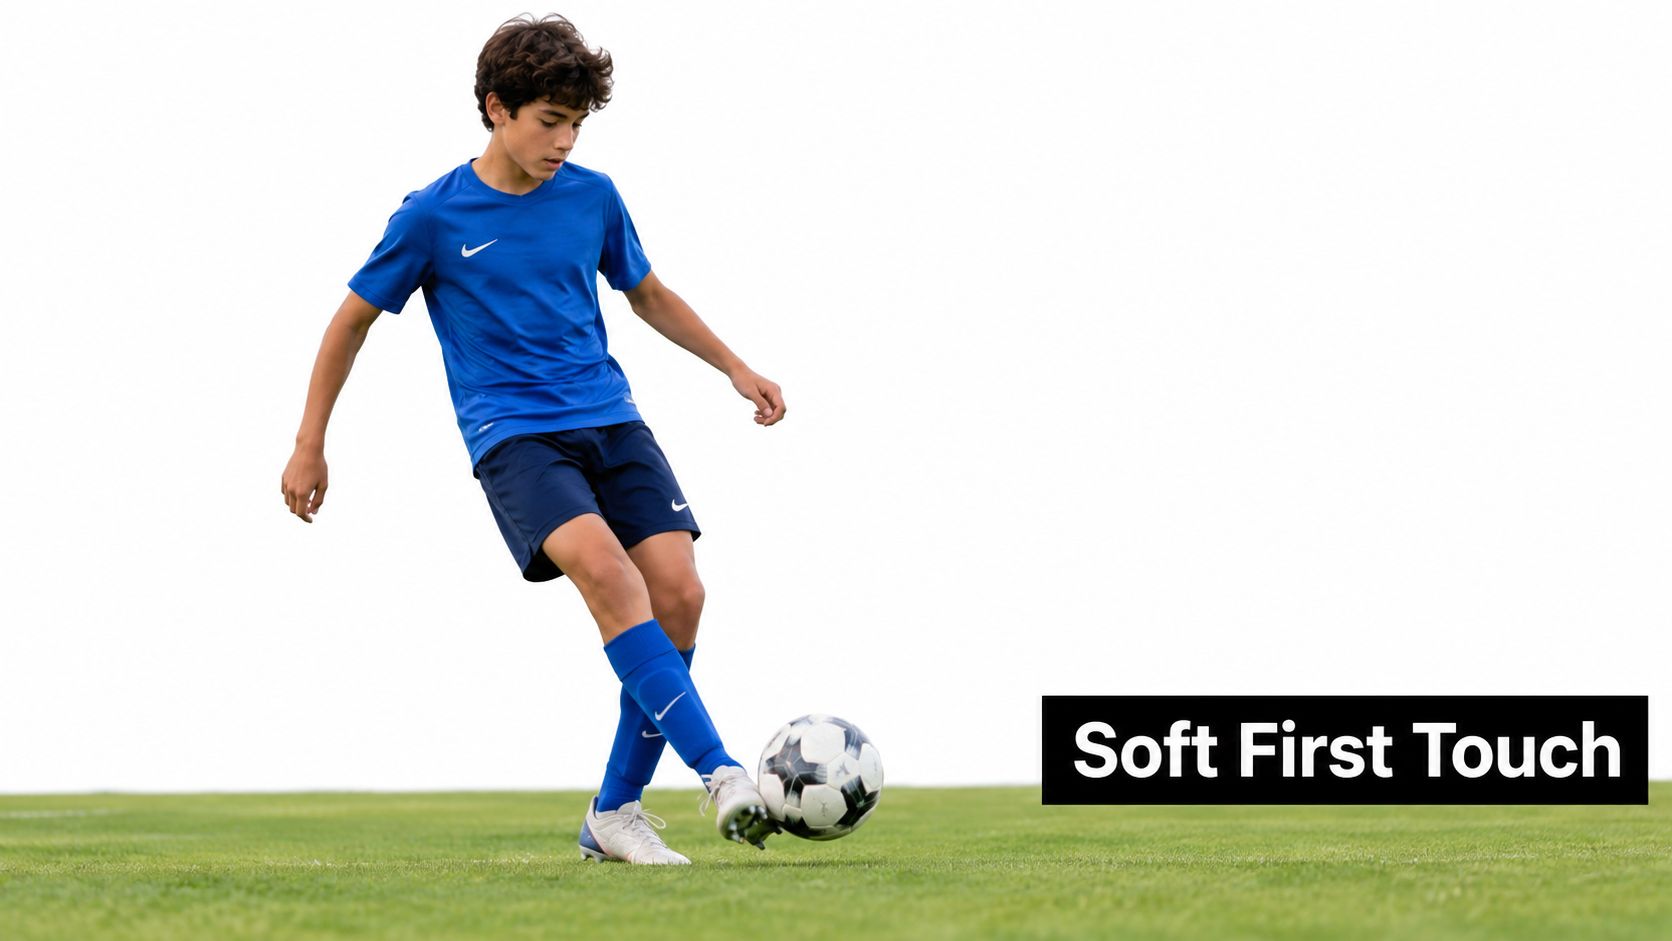
Start with the simplest version of control. Use a partner pass or a soft pass against a wall. The player receives with the inside of the foot first, because it gives the largest, easiest surface to learn. Once that looks settled, switch to the outside of the foot and then the sole.
The coaching cue is easy to remember. The foot should soften the ball like hands softening a catch. A stiff leg makes the ball rebound. A bent knee, relaxed ankle, and quiet body help the ball stay close enough for the next action.
A good first touch does not just stop the ball. It places the ball.
Simple receiving progressions
Build the drill in small steps so the player gets clean repetitions before speed increases.
Stationary receive: Stand still, receive the pass, stop it under control, then pass back.
Receive across the body: Take the ball slightly left or right with the first touch instead of trapping it dead.
Open-body receive: Start side-on, check the shoulder, and receive so the hips are ready for the next pass.
Back-foot receive: Use the foot farther from the passer to guide the ball into space.
Both feet: Alternate feet every rep so balance develops early.
A simple test helps coaches and parents judge quality. If the player can pass again in one smooth motion, the touch worked. If the ball rolls far enough to need extra steps and a reset, the touch was too heavy.
For ages 6 to 8, keep the passes slow and the distance short. For ages 9 to 12, add a small movement before the ball arrives, such as two quick steps away and back. Older beginners can progress to receiving while turning, but only if the touch still stays controlled. The goal is a clear pathway, not a rushed jump in difficulty.
Equipment matters too. A 2012 youth soccer study on ball size and dribbling reported no statistically significant dribbling advantage for ages 8 to 10 with the smaller size 4 ball, though quicker times were observed, and the researchers recommended continuing to use the smaller size 4 because the larger ball may be too cumbersome for developing control skills. That applies here as well. Young players learn first touch more easily when the ball fits their stage of development.
Two practical versions work well. At home, a parent can pass from a few yards away while the player tries to keep every first touch inside a small square. In team training, two players can pass, move a few steps, then receive again with a new body angle each time.
Keep the workload manageable. Try 3 rounds of 45 seconds with 30 seconds of rest for younger players, or 4 rounds of 60 seconds for older beginners. Stop before technique gets messy. Clean touches teach more than tired touches.
2. Cone Weaving and Agility Ladder Drills
A common beginner scene looks like this. The player can keep the ball close in place, but once a cone appears or the feet have to move faster, the dribble falls apart. That is normal. This stage teaches the body how to carry simple control into motion.
Cones and ladders help in different ways. Cones teach the player how to guide the ball around a path. Ladders teach the feet to strike the ground in a quick, organized rhythm. Used together, they form the next step after basic ball familiarity.
Start with cones, because they connect more directly to dribbling. Set up 4 to 6 cones in a straight line with enough space for calm, small touches. The player weaves through with the inside of one foot, then repeats with the other foot, then mixes inside and outside touches. The goal is not speed yet. The goal is to arrive at each cone balanced enough to change direction without a panic touch.
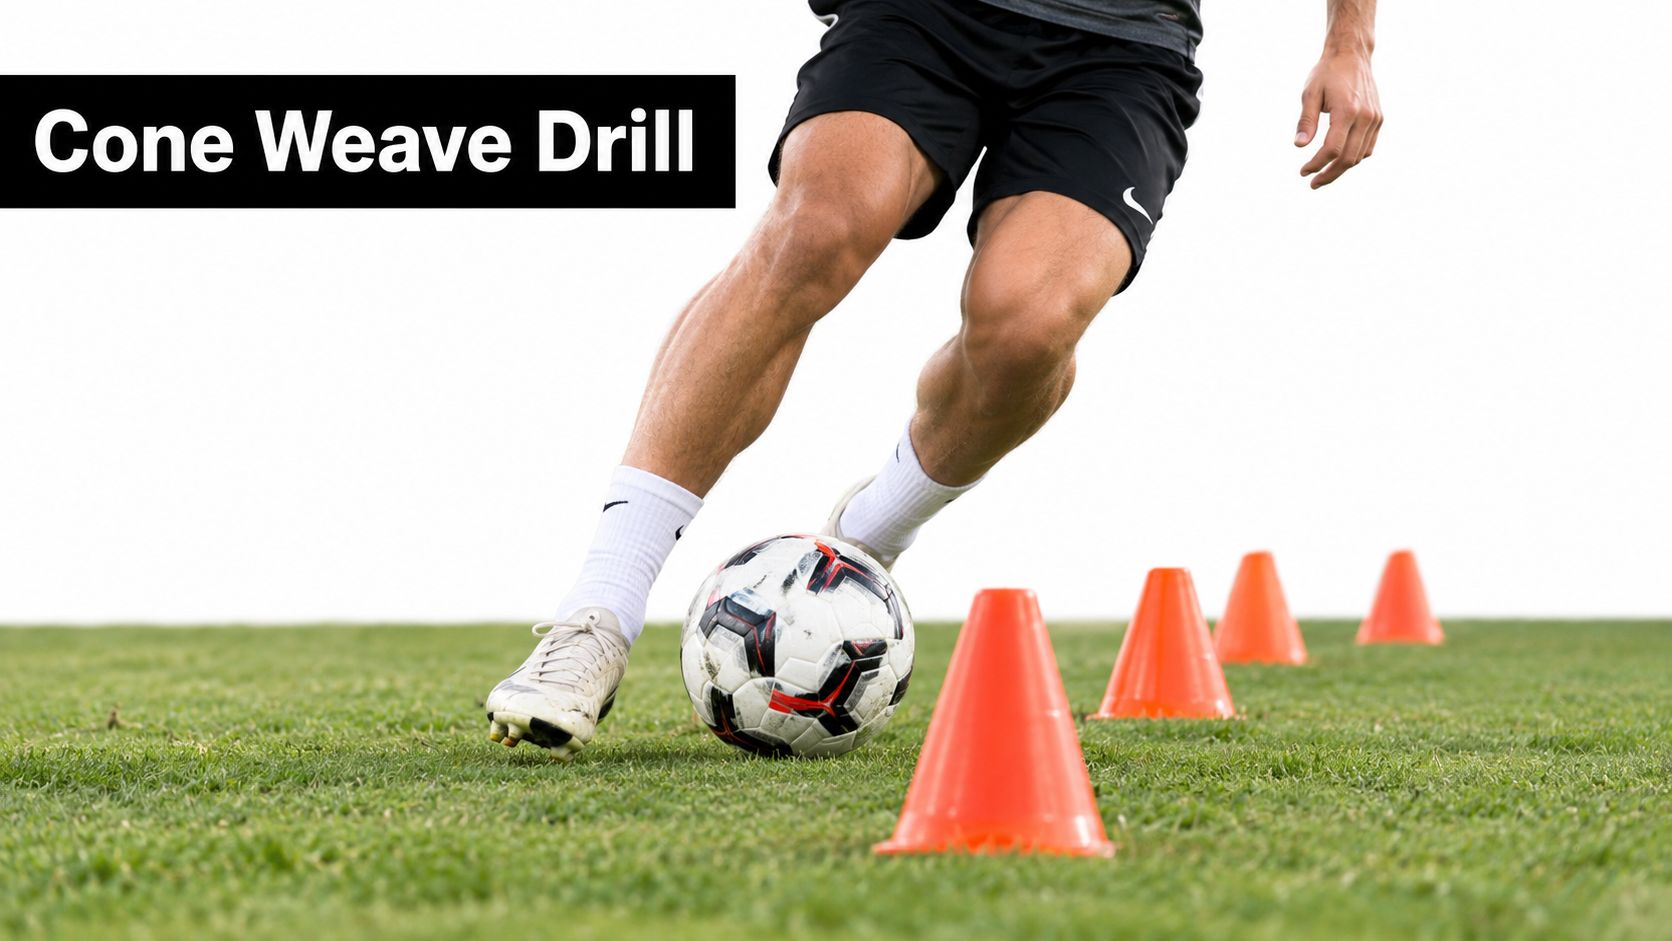
Now add the ladder as a support drill, not as the main event. Run one or two simple patterns without the ball, such as one foot in each square or two quick steps in each square. Keep the chest up, knees soft, and steps light. Coaches or parents who want more starter patterns can use these beginner agility drills for soccer players.
A useful way to explain the difference to young players is this: cones are like steering, ladders are like setting the engine rhythm. One helps the ball change direction with control. The other helps the feet reset quickly so the body is ready for the next touch.
Here is a simple progression that fits the pathway of this article:
Weave through cones at walking speed with the ball
Weave again at a light jog
Step through the ladder without the ball
Return to the cones and try to keep the same quick feet while dribbling
Finish with a short cone weave, then pass the ball to a partner or a wall
That last step matters because footwork should lead somewhere. A beginner does not need fancy patterns if those patterns never connect to dribbling, passing, or play.
A 2021 study on U15 football players found that both five-cone drills and ladder drills improved agility, with the five-cone drill producing a larger gain than the ladder drill. For beginners, that fits what coaches often see on the field. Ladder work can clean up rhythm, but cone work usually transfers faster to dribbling around pressure and changing direction with the ball.
For ages 6 to 8, use fewer cones, wider spacing, and short rounds of 20 to 30 seconds. For ages 9 to 12, tighten the weave slightly and add a rule such as one touch between cones. Older beginners can combine a ladder entry, a cone dribble, and a short pass at the end. Keep the volume manageable. Two or three rounds of each drill is enough if the touches stay clean.
One cue helps almost every player here. Glance up between cones. If the head stays down for the whole pattern, the feet may work, but the player is not learning to see the field while moving.
Smooth feet first. Speed comes after control.
3. One-Touch Passing and Two-Touch Receiving Drills
A common beginner moment looks like this. The player traps the ball, pauses, looks down, then passes after the chance has already gone. Passing drills fix that delay because they teach the feet and the eyes to work together.
At this point in the seven-drill pathway, the player is no longer just collecting touches. Now those touches need a purpose. Receive the ball so the next action is ready.
Start with the easier version first. Two touches.
The first touch acts like a setup touch in basketball. It puts the ball into a useful spot. The second touch sends it on. Place two players at a short, comfortable distance, or use a wall for solo work. Pass, receive across the body if possible, then return the ball with the inside of the foot.
If you want extra ideas for simple patterns, Villarreal Houston's guide to youth soccer passing drills fits this stage well.
Here is a simple way to build the drill without copying the same pattern over and over:
Stage 1: Still and cleanStand in place and trade passes. Focus on three details. Open the hips a little before the ball arrives, cushion the first touch, and pass firmly enough that the partner can work on proper technique too.
Stage 2: Check away, then showTake two steps away from the ball, then move back to receive. Young players often pass well when planted but lose shape after even a small movement. This reset teaches timing without making the drill too hard.
Stage 3: One touch in short burstsUse one-touch passing for 10 to 15 seconds at a time, then return to two touches. That keeps the quality high. One-touch work is useful only if the pass stays accurate and the body stays balanced.
A triangle works well for three players because it teaches angles, not just straight-line passing. A wall works well for one player because it gives many repetitions in a short time. Both versions train the same idea. The ball should arrive, leave, and stay under control.
For ages 6 to 8, stay with short distances and count consecutive passes out loud. Ten clean passes is a win. For ages 9 to 12, add the check-away movement or ask the receiver to take the first touch to the left or right cone. Older beginners can add a passive defender who closes space without tackling yet.
Keep the workload manageable. Two or three rounds per version is enough if the touches stay sharp.
Receive the ball so your next pass is already available.
4. Inside and Outside Foot Dribbling Progression
A beginner often looks comfortable while dribbling in a straight lane, then loses the ball the moment a turn appears. Inside and outside touches fix that problem because they teach the foot to steer, not just poke the ball forward.
Start with a simple picture. The inside of the foot works like a guide rail for safer, straighter touches. The outside of the foot helps a player bend away from pressure and change direction with fewer steps. Young players do not need fancy moves first. They need a ball that stays close enough to obey.
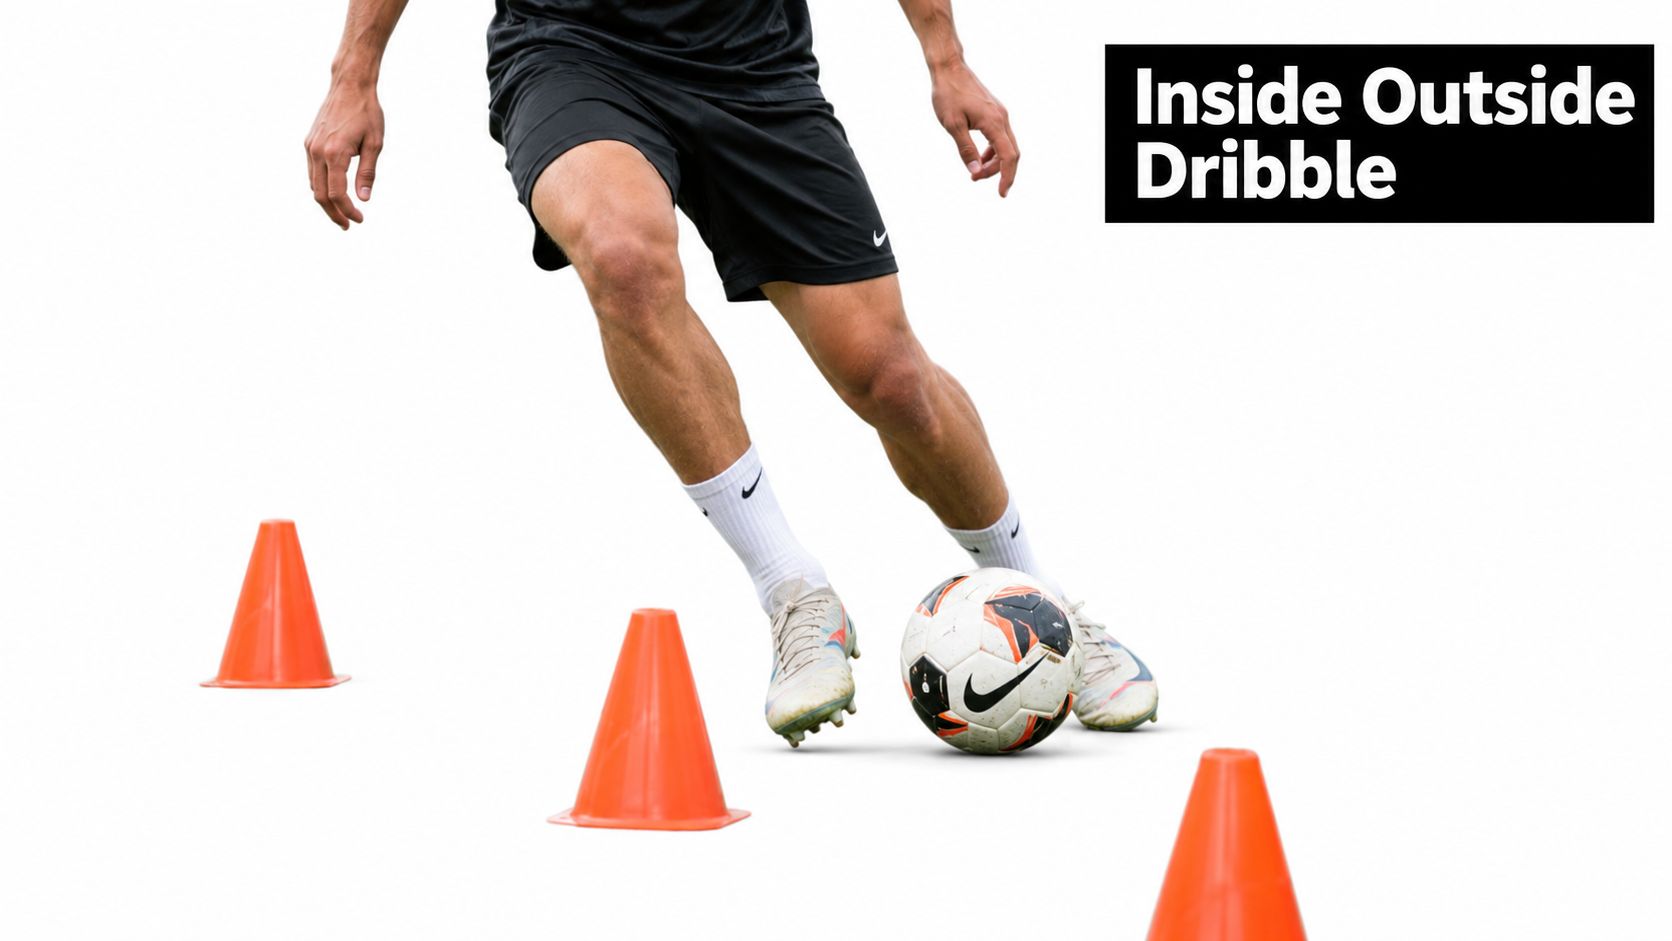
Try the progression as a route, not as four separate drills.
Begin with ten to fifteen yards of space. Dribble forward using only the inside of the right foot, then only the inside of the left. Repeat with outside touches. Once those feel steady, alternate inside and outside on the same foot while walking, then jogging. The goal is clean contact off each step, not speed.
Next, give the player a path to solve. A circle teaches body lean and curved touches. A figure eight teaches the player to move the ball across the body and reset the hips. A cone slalom adds timing because each cone asks the same question: keep going on this line, or shape the next touch early?
A quick coaching example helps here. If a right-foot-dominant player reaches every cone cleanly on the way out but takes extra recovery steps on the way back, the weaker side needs more reps, not less. That uneven pattern shows where balance and touch still break down. The article on improving your weak foot makes a similar point. Better dribbling comes from practicing both surfaces, both feet, and both directions.
Use one cue that children can remember during all three shapes: small touches near cones, longer touches after the turn.
For ages 6 to 8, keep the course short and let players finish one shape at a time with plenty of resets. For ages 9 to 12, ask for a change of pace after each turn. Older beginners can add light pressure from a partner who shadows from the side without tackling. That makes the drill feel more like the next step in the pathway, where footwork must hold up while moving and protecting the ball.
Two or three rounds per shape is usually enough. Stop while the touches still look tidy. Quality drops fast when beginners get tired, and tired feet start slapping at the ball instead of guiding it.
5. Sole of Foot and Ball Sole Contact Drills
A beginner often looks calm until the ball gets too close. Then the feet rush, the touch gets long, and the ball rolls into trouble. Sole work helps fix that because the bottom of the foot gives a young player a simple way to stop, pin, drag, and reset.
The sole works like a handbrake for the ball. It slows things down just enough for the player to make the next choice.
Start without asking the player to travel much. Put the ball in a one-step square and teach three contacts in sequence. First, place the sole on top to stop the ball. Next, roll it a few inches across the body. Then pull it back and push it out with the inside of the same foot. Those are small actions, but they build a skill beginners need in matches. Control the ball before trying to beat anyone.
Instead of another long list, use this as a short ladder of progress:
Level 1: Stop and feelThe player freezes the ball with the sole, lets it settle, then rolls it right and left. This teaches balance over the ball.
Level 2: Pull and exitThe player pulls the ball back with the sole, opens the hip, and nudges forward with the inside of the foot. Now the sole is linked to the next touch, not used by itself.
Level 3: Stop, turn, goThe player dribbles two or three steps, stops the ball with the sole, pivots, and leaves in the new direction. That turn matters because young players often stop the ball well, then stand still too long.
Level 4: Protect in a laneSet up a narrow channel and ask the player to keep every touch inside it. Add a passive partner beside them for older beginners. The goal is not tackling. The goal is learning how a sole stop can create a safer angle.
A 2021 study on youth soccer training reported that short-term plyometric training combined with agility ladder work was ineffective and not time-efficient for improving physical fitness in youth soccer players. That reminder fits here. Sole drills should sharpen technique in tight spaces, not turn into long conditioning blocks. A few clean reps with full attention help more than a tired minute of sloppy dragging.
Later in the session, visual instruction can help. This short demo gives young players another reference point for controlled sole contact.
For ages 6 to 8, keep each round short. Ten to fifteen seconds of work, then a reset. For ages 9 to 12, ask for a clean turn after the pull. Older beginners can add a light shoulder check before the sole stop so the habit starts to resemble a real game picture.
One easy coaching cue works well here: stop it, move it, leave with it.
A common game moment is a winger trapped near the line or a defender receiving with pressure behind. A big backswing takes too long there. A small sole stop and pull buys a second, and for beginners, that second is often the difference between panic and control.
6. Quick Feet and Ball Striking Accuracy Drills
A beginner often looks sharp during quick foot patterns, then mishits the very next pass. That gap matters. In a game, fast feet only help if the next touch sends the ball where it needs to go.
Treat this drill like a short chain of actions. The feet get organized first. Then the strike finishes the job, like setting your body before writing neatly instead of scribbling while you are still turning the page.
Here is a simple version that works well for young players. Place one ball, one cone or line for the foot pattern, and one target. The target can be a small gate, a square, or a mini goal. The player completes 3 to 5 seconds of quick feet, settles the body, and passes or strikes at the target right away.
The coaching point is timing, not chaos.
If the feet move too fast, the ball strike usually falls apart because the player never gets the plant foot set. If the pattern is controlled, the hips stay quieter, the head comes up sooner, and clean contact becomes much easier.
A useful teaching sequence is:
quick feet under control
small adjustment step to the ball
plant foot beside the ball
locked ankle through contact
hold the finish for a moment
That last detail helps more than many coaches expect. When a young player can freeze the finish for one second, you can quickly see balance, body shape, and whether the striking surface was correct.
A common example is a midfielder who checks into space, takes two fast setup steps, and then has to play a simple pass before pressure arrives. The drill copies that moment in beginner form. It teaches players that the pass starts before the swing. It starts with body organization.
A 2021 and 2022 review of agility ladder and dribbling-related youth training findings summarized research showing that drill design changes how often young players contact the ball. For this stage of the pathway, that matters. More useful contacts in a short block give beginners more chances to connect foot speed with clean striking technique.
For ages 6 to 8, keep the pattern very short and make the target large. A two-step pattern into a pass through a wide gate is enough. For ages 9 to 12, shrink the gate a little or ask for an inside-foot pass to one side and a laces strike to the other. Older beginners can react to a coach's call or color signal before choosing the target.
One easy workload guideline helps keep quality high. Use 4 to 6 reps, then rest and reset. Short sets protect technique, which fits the larger development path in this article. First the player learns clean touches alone. Here, the player learns to finish that touch sequence with purpose.
7. Small-Sided Games and Possession Challenges
A beginner can look sharp in a cone drill, then freeze as soon as another child closes space. That shift is normal. Small-sided games teach the next layer of footwork. The player still needs soft touches and balance, but now those tools have to work while scanning, protecting the ball, and choosing quickly.
That is why this part of the pathway comes near the end. Earlier drills built control in simple conditions. Here, the same touches have to survive a soccer problem.
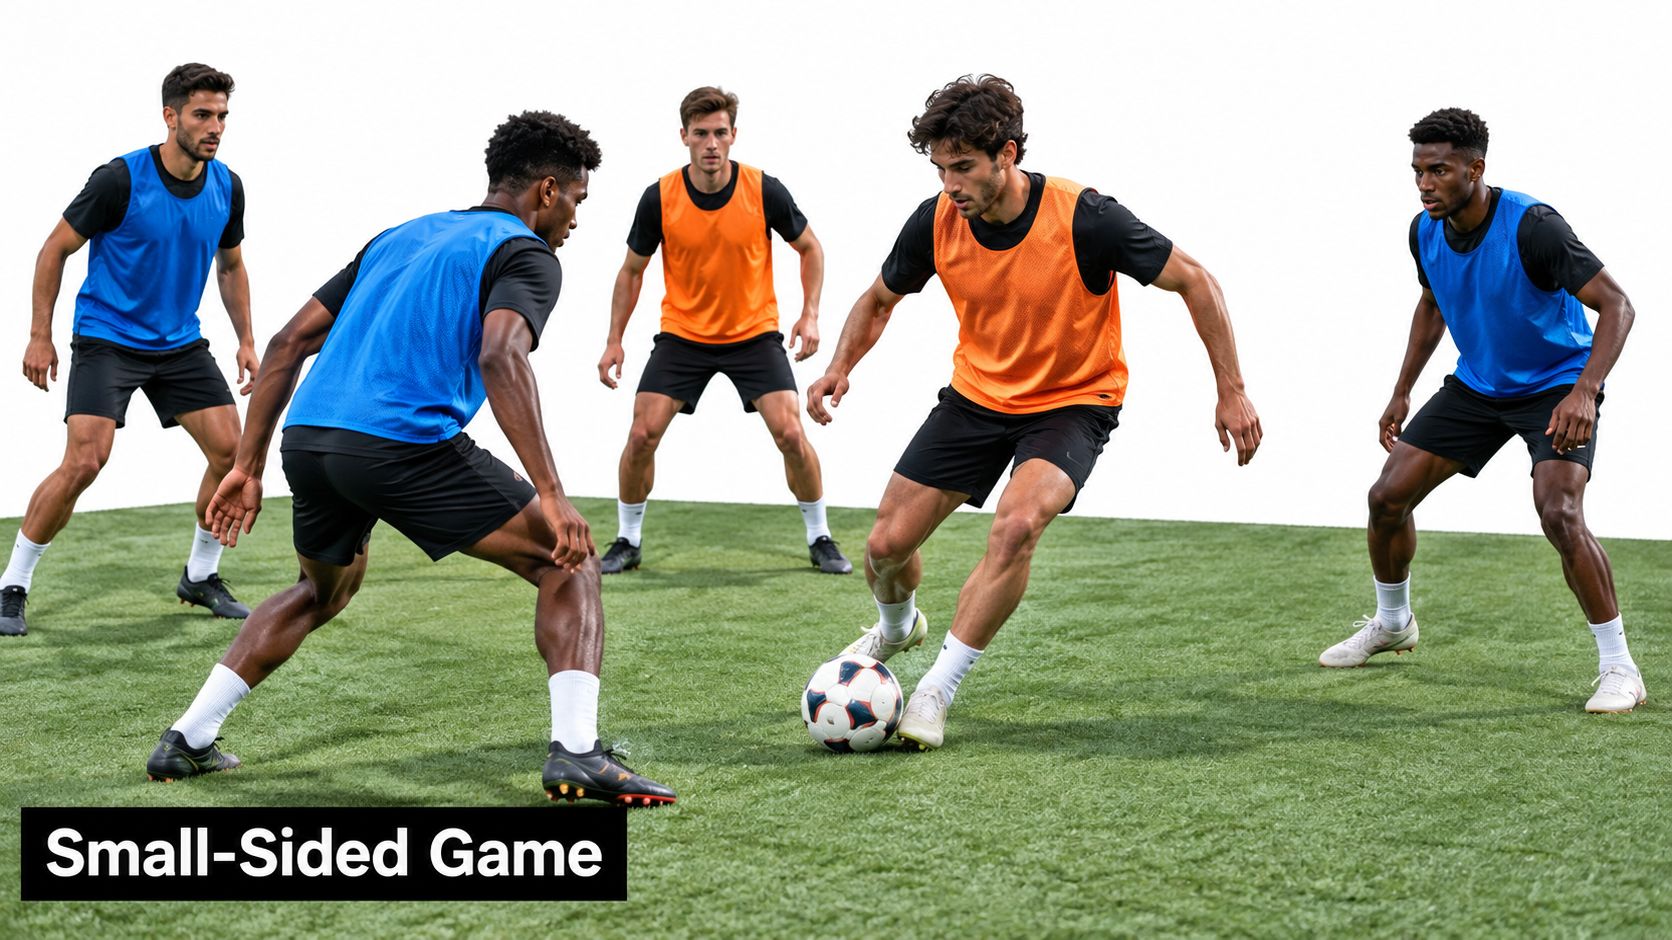
Use a small game as a test with teaching built into it. A 3-v-3 or 4-v-4 setup gives each player repeated turns with the ball, which is why coaches often prefer it to a crowded full-field scrimmage. Players get many small lessons in a short time. A heavy first touch gets punished. A good body angle creates space. A calm pass keeps the team alive. For setup ideas by age and format, Villarreal Houston shares several small-sided soccer games for youth players.
Instead of adding a long list of rules, pick one lens for the game and let the children feel it.
A close-control day might use end gates, where a goal only counts if the dribble crosses under control. A receiving day might reward teams when the first touch stays near enough for the next action. If you want weaker-foot confidence, give a bonus for a weaker-foot pass or finish. If the group is ready for simple possession, ask for a short passing sequence before they can attack.
One useful beginner format is easy to picture on the field. Set up a small rectangle, split players into 3-v-3, and restart every ball with a gentle pass from the coach. That restart acts like a fresh serve in practice tennis. It gives both teams another clean chance to receive, open their body, and solve pressure without the chaos of a random bounce.
Adjust the challenge by age and comfort level. Ages 6 to 8 usually need bigger spaces, short rounds, and a soft condition such as "three passes or dribble through a gate." Ages 9 to 12 can play in a tighter area with touch limits or direction changes. Older beginners can add a neutral player, transition goals, or a rule that the ball must switch sides before scoring.
Keep the workload manageable. Try 2 to 4 rounds of 60 to 90 seconds, then pause briefly to coach one point and restart. Short games protect energy and attention. For young players, that usually leads to better touches than one long block where the game turns messy.
Turn Seven Drills Into a Simple Youth Session
A useful youth session doesn't need to feel complicated. It just needs to move in a sensible order and protect quality. Start with a short movement and ball warm-up. Light dribbling, gentle sole rolls, and inside-outside touches work well because they wake up the feet without rushing the player.
Then move into the middle of the pathway. Use inside and outside foot dribbling first, then sole-contact work in a small area, then first-touch receiving with a partner or wall. After that, add cone weaving or a short ladder pattern so the player connects coordination to movement. Finish with passing work and a small-sided possession game so the touches finally live inside a soccer problem.
For beginners, manageable workloads matter. Public youth guidance often converges on shorter, repeatable practice blocks rather than long workouts, with overall football practice often framed around 30 to 45 minutes, 2 to 3 times per week, and just 5 to 8 simple exercises repeated consistently for beginners, as described in this guide to soccer drills for beginners. That's a good coaching lens. Shorter, cleaner sessions usually beat long, overloaded ones.
Age changes the details. Younger players do better with shorter rounds, wider spaces, and playful challenges like “stop the ball on the line” or “use the other foot on the next turn.” Older or more experienced beginners can handle movement before receiving, passive pressure, tighter grids, and quicker choices after the first touch.
Safety still comes first. Check the surface, tie laces properly, leave enough room between players, and build intensity gradually. Make water easy to reach, give short rest breaks before fatigue wrecks technique, and stop any movement that looks unsafe or out of control.
The best takeaway is simple. Repeat this seven-drill pathway consistently, then measure improvement by cleaner touches, better balance, and smarter decisions instead of speed alone. If your player is ready for more structured coaching, Villarreal Houston Academy is one local option with age-appropriate teams, camps, clinics, and a clear training pathway.
Beginner Soccer Footwork: 7-Drill Comparison
Drill | 🔄 Implementation Complexity | Resource Requirements | 📊 Expected Outcomes | Ideal Use Cases | ⭐ Key Advantages |
|---|---|---|---|---|---|
First Touch and Ball Control Drills | Low–Medium, simple progressions, needs coaching feedback | Soccer balls, cones, small space, coach | ⭐⭐⭐⭐, improved cushioning, retention, decision time | Ages 4–8 foundational, technique sessions, warm-ups | 💡 Builds technical foundation, minimal equipment |
Cone Weaving and Agility Ladder Drills | Medium, pattern setup and progression management | Cones, agility ladder, adequate space, optional ball | ⭐⭐⭐⭐, better acceleration, coordination, injury prevention | Ages 6+, SAQ, footwork-focused warm-ups | ⚡ Enhances foot speed & proprioception; measurable results |
One-Touch Passing and Two-Touch Receiving Drills | Medium–High, requires organization, spacing and coach direction | Balls, cones, vests, medium space, groups | ⭐⭐⭐⭐, faster tempo, better passing accuracy and awareness | Ages 7+, possession training, team sessions | 💡 Improves tempo, decision-making; highly scalable |
Inside and Outside Foot Dribbling Progression | Low–Medium, progressive repetitions, coach oversight useful | Balls, cones, small grid | ⭐⭐⭐⭐, ambidexterity, 1-v-1 effectiveness, balance | Ages 4+, individual skill work, dribbling circuits | 💡 Develops both feet, versatile and match-applicable |
Sole of Foot and Ball Sole Contact Drills | Medium, focused repetition and technical coaching | Balls, small grid/cones, tight space | ⭐⭐⭐⭐, exceptional close control, tight-space manipulation | Ages 6+, tight-space technique sessions, skill moves | 💡 Produces superior touch and creative evasion |
Quick Feet and Ball Striking Accuracy Drills | Medium–High, high intensity, needs organization and rest management | Balls, cones, targets/goals, stopwatch | ⭐⭐⭐⭐, faster execution with accuracy under pressure | Ages 8+, warm-ups, finishing drills, reactive training | ⚡ Boosts execution speed and precision; very engaging |
Small-Sided Games and Possession Challenges | Low (setup), coaching quality determines effectiveness | Balls, cones, vests, small goals, small pitch | ⭐⭐⭐⭐⭐, highest transfer to match performance (tech + tact) | Ages 6+, core sessions to apply skills under pressure | ⭐ Most effective integrated learning environment; high engagement |
Villarreal Houston Academy offers youth soccer teams, camps, clinics, and training for players starting at age 4, with age-appropriate coaching that fits the footwork pathway in this article. If your player is ready to build first touch, dribbling, passing, and game confidence in a structured setting, visit Villarreal Houston Academy.
Comments